.NET, Postgres and Kubernetes: a match made in heaven?
 Iede Snoek
Introduction
When I started out using .NET development, many years ago, SQL Server was the default database server to be used, and let’s be honest: .NET support for SQL Server was and is still excellent.
However, with the advent of the open source movement, also many years ago, some open-source DBMS’ have come on to the market, one of the most prominent being Postgresql. That is why I decided to give it a swing in this article.
The sourcecode can be found in this repository.
What will be build?
We will build the following:
- A .NET Web API (based on .NET 7) where clients can enter and view simple events (like festivals or parties)
- A Docker images.
- And as a coup de grâce, we will deploy it to a local Kubernetes cluster
Prerequisites
To follow along you need the following:
- A working copy of Visual Studio 2022 (so not Visual Studio Code)
- An installation of Postgresql, preferably with pgAdmin
- Docker desktop is needed to build the Docker images
- You also need a Docker hub account
- If you want to go all the way, a local Kubernetes cluster, like Minikube
Setting up
Open Visual Studio 2022 and start a new project:
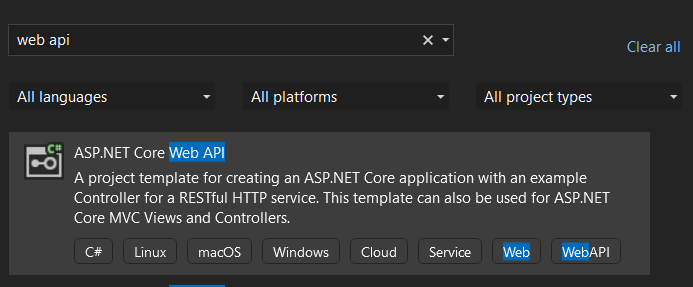
Choose the ASP.NET Core Web API, and make sure that you choose C# as the programming language
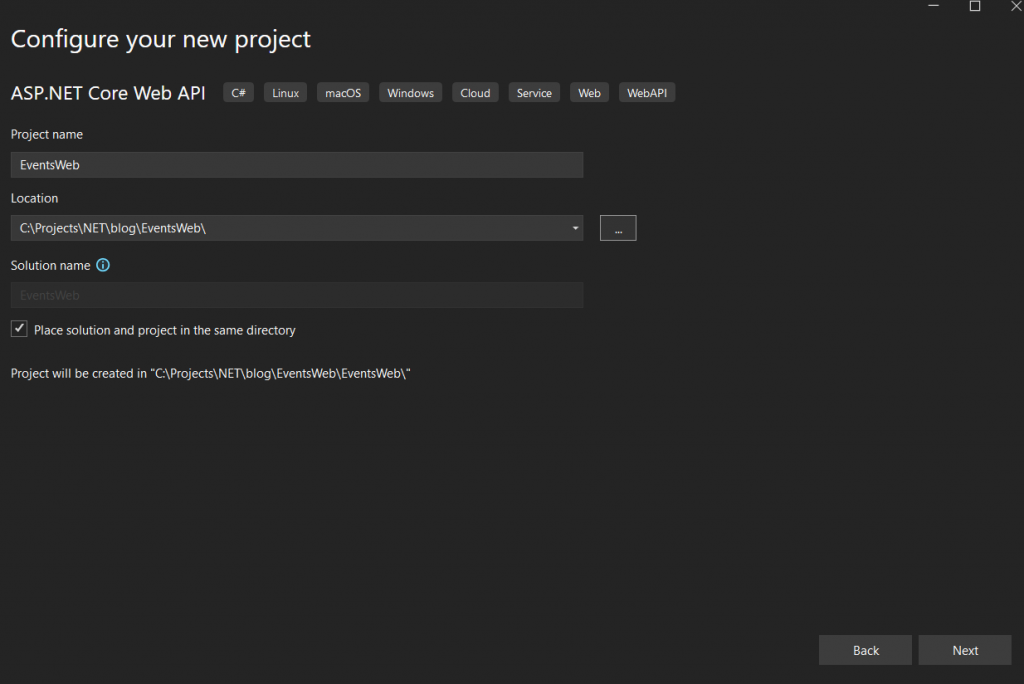
Name your project EventsWeb, choose a directory on your system, and check the checkbox on the ‘Place solution…’.
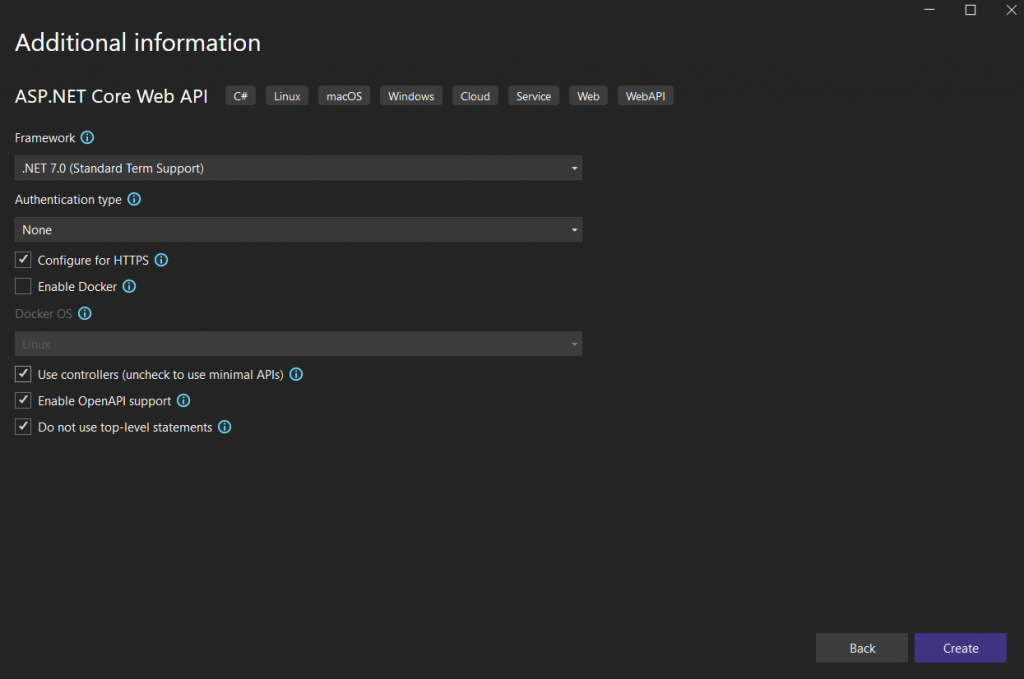
Choose:
- .NET 7.0
- No Authentication
- Configure for HTTPS
- Use controllers. This is a matter of taste, for now I like to use controllers
- Enable OpenAPI. This is to ensure we can use swagger pages
- Do not use top-level statements
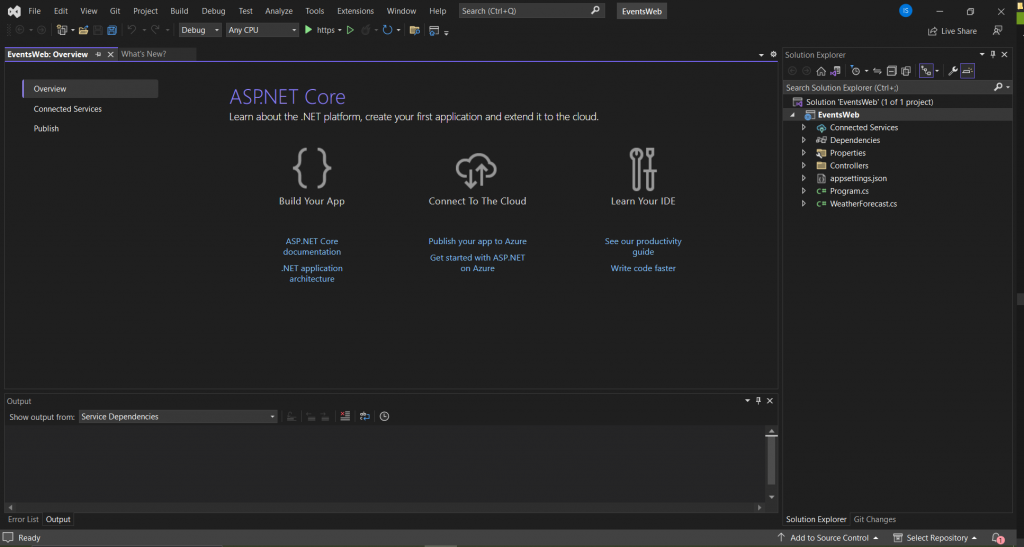
After clicking create, you see something like this:
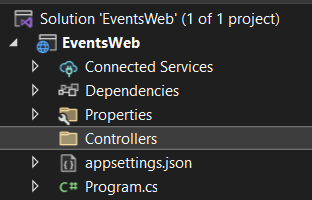
Now click on the ‘Controllers’ folder:
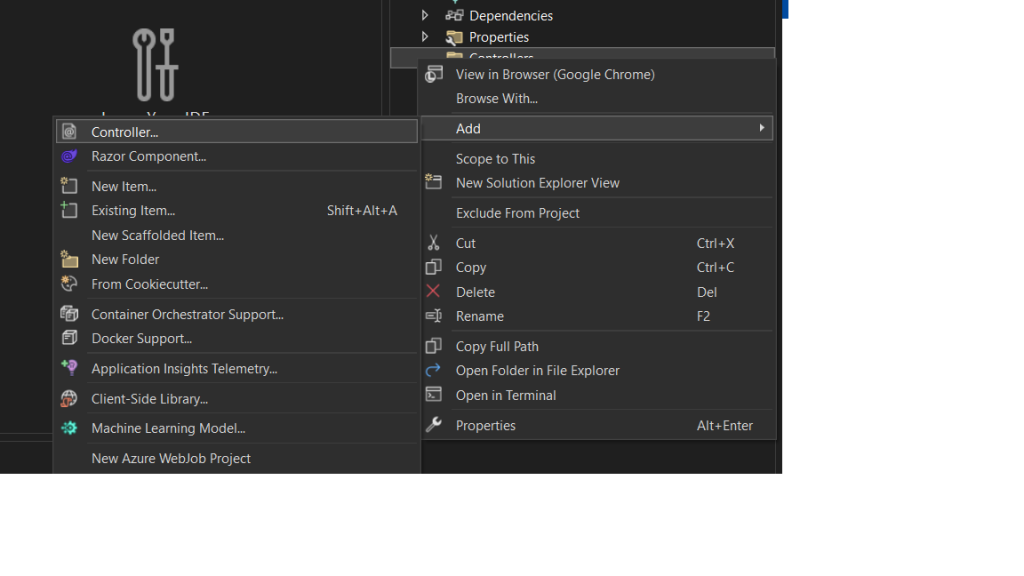
And choose ‘Add Controller’:
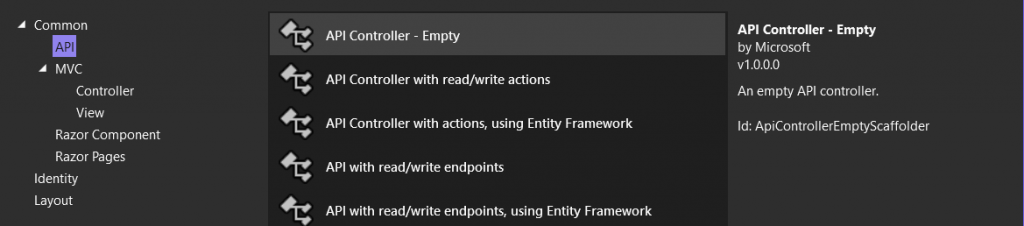
Choose ‘API controller – Empty’:
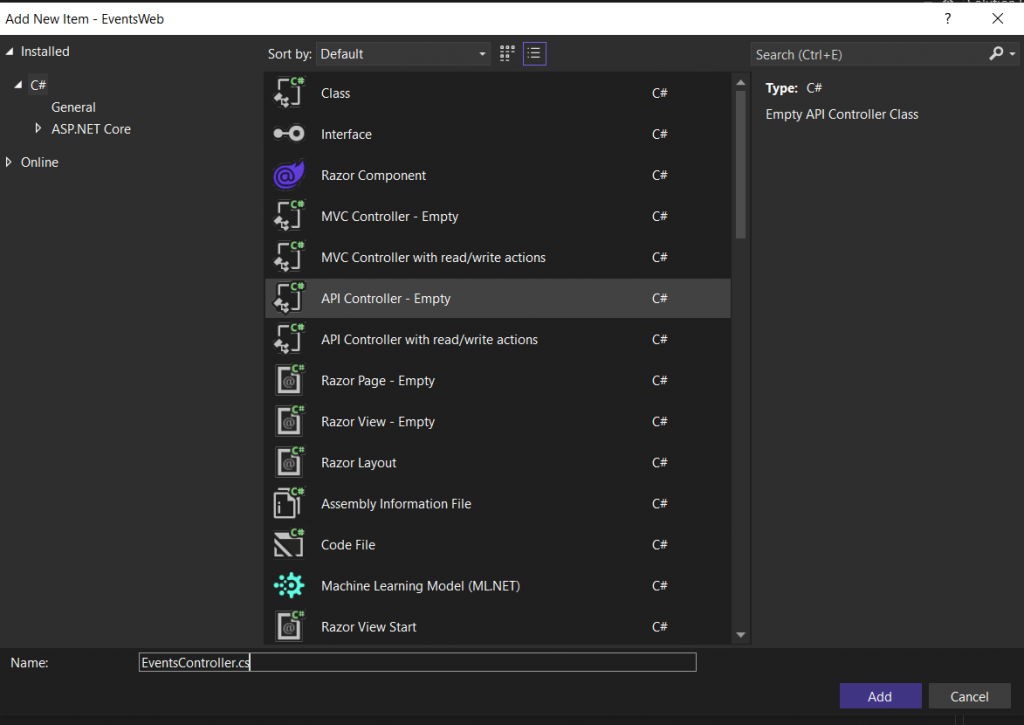
Click ‘Create’. Now name the new controller EventsController.cs and click ‘Add’. We will come back to this later.
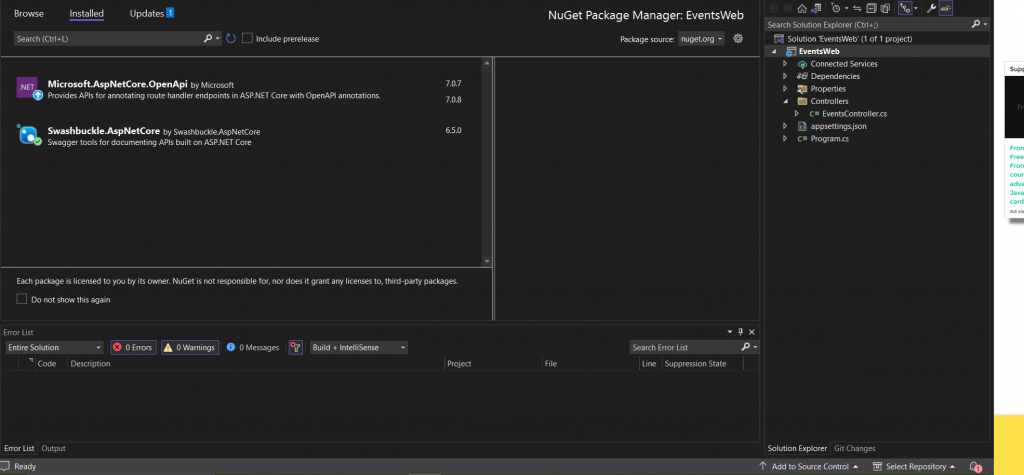
Now right click on the project and choose ‘Manage Nuget packages’:
Click the ‘Browse’ tab, and type ‘npgsql’ in the searchbox:
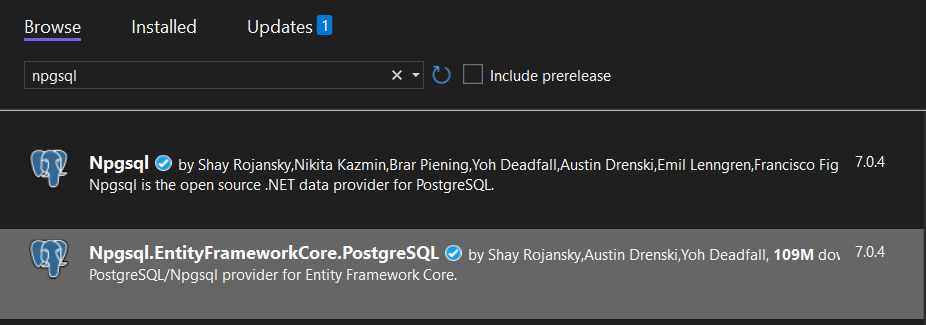
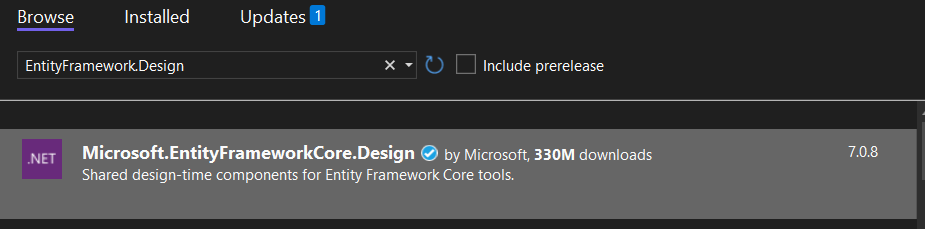
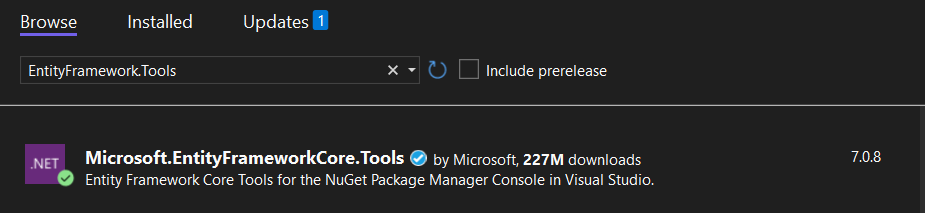
Choose ‘Npgsql.EntityFrameworkCore.PostgreSQL’ and install this. Now type ‘EntityFramework.Design’ and install the ‘Micrsoft.EntityFrameworkCore.Design’ package, then after that, type ‘EntityFramework.Tools’ and install the ‘Microsoft.EntityFrameworkCore.Tools’ package. We will need this later on to build the migrations:
Now it is time to return to the code. In the project, create a ‘Models’ folder, and in that folder create a ‘WebEvent.cs’ file (by right clicking the folder and choosing ‘Add Class’) and make sure it looks like this:
namespace EventsWeb.Models
{
    public class WebEvent
    {

        public int Id { get; set; }
        public required string Title { get; set; }
        public required string Description { get; set; }
        public required string Location { get; set; }

    }
}
This is a straightforward DTO, the required keyword was added to ensure that the string are not null.
Now in the main project, add a folder called ‘Context’ and in that folder add a file called ‘WebEventContext.cs’:
using EventsWeb.Models;
using Microsoft.EntityFrameworkCore;

namespace EventsWeb.Contexts
{
    public class WebEventContext:DbContext
    {
        protected readonly IConfiguration Configuration;

        public WebEventContext(IConfiguration configuration)
        {
            Configuration = configuration;
        }

        protected override void OnConfiguring(DbContextOptionsBuilder optionsBuilder)
        {
            var dbHost = Environment.GetEnvironmentVariable("HOST");
            var dbName = Environment.GetEnvironmentVariable("POSTGRES_DB");
            var userName = Environment.GetEnvironmentVariable("POSTGRES_USER");
            var password = Environment.GetEnvironmentVariable("POSTGRES_PASSWORD");

            var connectionString = string.Empty;
            if (string.IsNullOrEmpty(dbHost) ||
                string.IsNullOrEmpty(dbName) ||
                string.IsNullOrEmpty(userName) ||
                string.IsNullOrEmpty(password))
            {
                connectionString = Configuration.GetConnectionString("defaultDb");
            }
            else
            {
                connectionString = $"Host={dbHost};Database={dbName};Username={userName};Password={password}";
            }
            optionsBuilder.UseNpgsql(connectionString);
            base.OnConfiguring(optionsBuilder);
        }

        public DbSet<WebEvent> Events { get; set; }
    }
}
Some explanation is needed here:
- In the constructor an IConfiguration object is injected. That is needed to get the value of the connectionstring (that is, if we run locally, not in Kubernetes)
- In the OnConfiguring() method, we first try and find a connectionstring in the environment. If there is not one, we use the one in the configuration as a parameter for the UseNpsql() method.
- Next we have the only DbSet (and in fact the only table) in this project, the Events set which is a DbSet of WebEvent.
Update the appsettings.json
This is the standard settings file, we need to add a connectionstring here, as follows:
{
  "ConnectionStrings": {
    "defaultDb": "Host=localhost;Database=webeventsnet;Username=postgres;Password=<littlesecret>"
  },
  "Logging": {
    "LogLevel": {
      "Default": "Information",
      "Microsoft.AspNetCore": "Warning"
    }
  },
  "AllowedHosts": "*"
}
Add the migration
In the Tools Menu, choose ‘Nuget Package Manager’ and then ‘Package Manager Console’ to open the Package Manager Console.
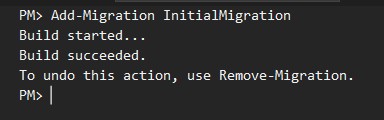
Now type:
Add-Migration InitialMigration
And if things go right, you will see a migration class in your editor window:
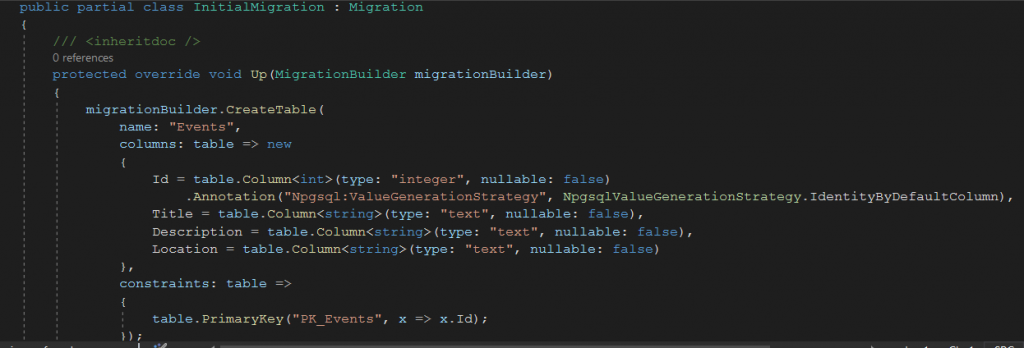
However, this only the migration, we now need to apply to the database:
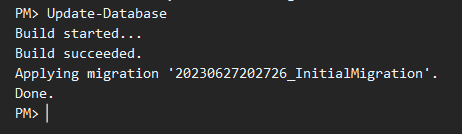
In the Package Manager Console type:
Update-Databaseto apply this migration to the database.
Also, you will see a Migrations folder is added to your project.
The WebEventService
For the application to access the database, some kind of service is needed.
In your solution, add a folder called ‘Services’ and in that folder create two other folders: ‘Interfaces’ and ‘WebEvents’
The interface
Next in the Interfaces folder add a file called ‘IWebEventService’:
using EventsWeb.Models;

namespace EventsWeb.Services.Interfaces
{
    public interface IWebEventService
    {
        Task<IEnumerable<WebEvent>> Fetch();
        Task<WebEvent?> Fetch(int id);
        Task<WebEvent> Create(WebEvent newEvent);
        Task<WebEvent?> Delete(int id);
    }
}
This is basically a CRUD-interface (with the notable absence of the Update() method). All these methods will have an asynchronous implementation, that is why they all return a Task of some sort.
The implementation
Now it is time to implement this interface, start by adding a ‘WebEventService.cs’ to the ‘WebEvents’ folder in the ‘Services’ folder.
Now add this in the header:
using EventsWeb.Contexts;
using EventsWeb.Models;
using EventsWeb.Services.Interfaces;
using Microsoft.EntityFrameworkCore;
Also make sure that the class implements the IWebEventService:
public class WebEventService : IWebEventServiceNow add this field to the class:
private WebEventContext context;
And define a constructor:
public WebEventService(WebEventContext context)
{
  this.context = context;
}
In this constructor we inject the WebEventContext.
Now implement the Create() method:
public async Task<WebEvent> Create(WebEvent newEvent)
{
  this.context.Events.Add(newEvent);
  await this.context.SaveChangesAsync();
  return newEvent;
}
Line by line:
- We add the newEvent to the DbSet we defined.
- We save the changes asynchronously.
- And we return the newly created object, with the new id.
After creation, deletion seems a logical choice:
public async Task<WebEvent?> Delete(int id)
{
  var entity = this.context.Events.SingleOrDefault(x => x.Id == id);
  if (entity!=null)
  {
     this.context.Events.Remove(entity);
     await this.context.SaveChangesAsync();

  }
  return entity;
}
Again, line by line:
- We try to find the WebEvent with the given id.
- If the entity exists, we remove it from the DbSet and save the changes asynchronously.
- We return the deleted object.
With Fetch() we can check the result of our actions:
public async Task<IEnumerable<WebEvent>> Fetch()
{
  return await this.context.Events.ToListAsync();
}
Again, quite simple: the DbSet is queried for all entities, which are added asynchrously to a list. The IEnumerable return type is so that the list is immutable.
And now to get a specific entity:
public async Task<WebEvent?> Fetch(int id)
{
  return await this.context.Events.SingleOrDefaultAsync(x => x.Id == id);
}
This more or less the same principe as the Fetch() method, but here the SingleOrDefaultAsync() method is used.
Some of the methods return a WebEvent? i.e. a nullable reference. This because, for example in the Fetch(int id) method, an entity may not exist so a null value can be returned.
To be sure, this is how the WebEventService.cs looks as a whole:
using EventsWeb.Contexts;
using EventsWeb.Models;
using EventsWeb.Services.Interfaces;
using Microsoft.EntityFrameworkCore;

namespace EventsWeb.Services.WebEvents
{
    public class WebEventService : IWebEventService
    {
        private WebEventContext context;

        public WebEventService(WebEventContext context)
        {
            this.context = context;
        }

        public async Task<WebEvent> Create(WebEvent newEvent)
        {
            this.context.Events.Add(newEvent);
            await this.context.SaveChangesAsync();
            return newEvent;
        }

        public async Task<WebEvent?> Delete(int id)
        {
            var entity = this.context.Events.SingleOrDefault(x => x.Id == id);
            if (entity!=null)
            {
                this.context.Events.Remove(entity);
                await this.context.SaveChangesAsync();

            }
            return entity;
        }

        public async Task<IEnumerable<WebEvent>> Fetch()
        {
            return await this.context.Events.ToListAsync();
        }

        public async Task<WebEvent?> Fetch(int id)
        {
            return await this.context.Events.SingleOrDefaultAsync(x => x.Id == id);
        }
    }
}
The Program.cs file
The Program.cs file is the the file where our API gets started, and we need to change some things here as well. After the builder.Services.AddSwaggerGen() call, add these two lines:
builder.Services.AddDbContext<WebEventContext>();
builder.Services.AddScoped<IWebEventService, WebEventService>();
These add Dependency Injection for the WebEventContext datacontext and for our WebEventService.
Now after the builder.Build() call, add these lines:
using var scope=app.Services.CreateScope();
var services = scope.ServiceProvider;
try
{
  var dataContext = services.GetRequiredService<WebEventContext>();
  if (dataContext.Database.IsNpgsql())
  {
     await dataContext.Database.MigrateAsync();
  }
} catch
{
    throw;
}
A short explanation is neccessary here:
- Through the use of the app services Scope we get our datacontext
- If our database happens to be a Postgres database, we perform a migration if needed
- If something goes wrong we throw an exception.
Also remove the if-statement around the app.UseSwagger() and app.UseSwaggerUI() calls, so that we can view the swagger pages on the cluster.
The EventsController
Now we can really start working on the controller, which you added earlier. If not open, open this file, and this right below the opening brace:
private IWebEventService webEventService;This to access the WebEventService we have just implemented.
Now add the constructor:
public EventsController(IWebEventService webEventService)
{
  this.webEventService = webEventService;
}
Here we ‘inject’ the IWebEventService interface, as you can see.
Now time to the fetch the events:
[HttpGet]
[Route("/")]
public async Task<JsonResult> Fetch()
{
  var events = await webEventService.Fetch();
  return new JsonResult(events);
}
Line by line:
- We fetch all entities from the database through the service.
- We return it as a JSON object.
Now to get a specific entity:
[HttpGet]
[Route("event/{id}")]
public async Task<IActionResult> FetchEvent(int id)
{
  var webEvent = await webEventService.Fetch(id);
  if (webEvent==null)
  {
     return NotFound();
  } else
  {
     return new JsonResult(webEvent);
  }
 }
Line by line:
- Just like previous method, this is a GET method
- The id of the entity to be fetched is part of the route (“event/{id}”)
- We try and fetch the entity.
- If the entity does not exist we return a not found error, else we return the entity as JSON.
Now we need to create some entities:
[HttpPost]
[Route("create")]
public async Task<IActionResult> Create([FromBody]WebEvent newEvent)
{
  if (newEvent == null)
  {
     return Problem();
  } else
  {
    var createdEvent=await this.webEventService.Create(newEvent);
    return Created(Request.GetDisplayUrl(), createdEvent);
  }
}
Line by line:
- This a POST method, and it get its parameter value from the POST body.
- If the body of the request is in the wrong format, and no object can be constructed. so the we return Problem() (A 500 error)
- If everything is ok, we create the object, and return a Created statuscode, along with the newly created object.
Now to make things complete, the Delete() method:
[HttpDelete]
[Route("delete/{id}")]
public async Task<IActionResult> Delete(int id)
{
  await this.webEventService.Delete(id);
  return Ok();
}
A short explanation:
- This method takes a Http DELETE Verb, and gets the id of the entity to be deleted from the route
- In the method we simply delete the entity, and return an Ok() statuscode.
Try it out
You can now try it out, press F5, and start playing with your newly minted API, create some entities, delete them, see them etc..
The Kubernetes bit
Dockerize your app
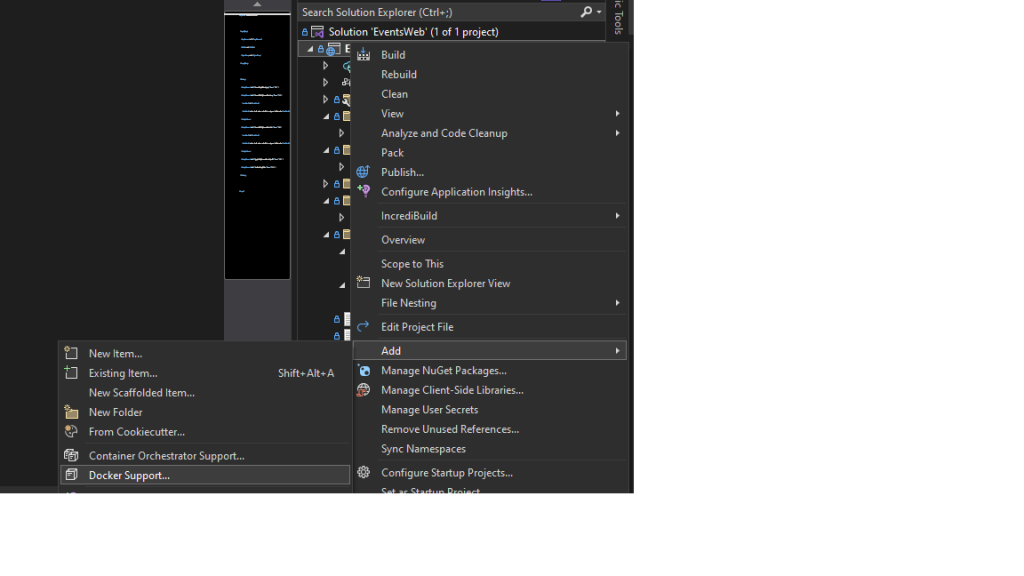
In order for this simple app to deployed to Kubernetes, we need to Dockerize this first. Important: Make sure Docker Desktop is running before you do this.
In Visual Studio 2022 adding a Docker file is easily done: right click the project, and select ‘Docker Support’. In the dialog that follows, select Linux as the operating system:
Visual Studio creates a Dockerfile which looks something like this:
FROM mcr.microsoft.com/dotnet/aspnet:7.0 AS base
WORKDIR /app
EXPOSE 80
EXPOSE 443

FROM mcr.microsoft.com/dotnet/sdk:7.0 AS build
WORKDIR /src
COPY ["EventsWeb.csproj", "."]
RUN dotnet restore "./EventsWeb.csproj"
COPY . .
WORKDIR "/src/."
RUN dotnet build "EventsWeb.csproj" -c Release -o /app/build

FROM build AS publish
RUN dotnet publish "EventsWeb.csproj" -c Release -o /app/publish /p:UseAppHost=false

FROM base AS final
WORKDIR /app
COPY --from=publish /app/publish .
ENTRYPOINT ["dotnet", "EventsWeb.dll"]
The image is built in several steps, resulting a small-ish image. When I build this, I get an image of around 220MB at the moment.
Now right click the project and select ‘Open in Terminal’. A terminal now opens. Type:
docker build -t <your dockerhub username>/webeventsnet:v1 .
Now the image starts to build. Depending on the speed of your machine and your internet speed, this can take some time.
Once this is finished type the following two commands:
docker login
docker push <your dockerhub username>/webeventsnet:v1
Once that is done, we can get to the business of deploying this thing to Kubernetes
The Config Map
Open a terminal in your Visual Studio, by right clicking your project and choosing ‘Open in Terminal’. Also make sure that your local kubernetes cluster is running. If you use minikube try type ‘minikube status’ for example, and when needed ‘minikube start’, other cluster may have different commands.
Since we will use the declarative approach here, add a ‘Kubernetes’ folder to your project, and in that folder add a db-configmap.yaml file:
apiVersion: v1
kind: ConfigMap
metadata:
  name: db-secrets-net
  labels:
    app: postgresdb
data:
  POSTGRES_DB: "webeventsnet"
  POSTGRES_USER: "testUser"
  POSTGRES_PASSWORD: "secrets1234"
  HOST: "postgresnetdb.default"
  PORT: "5432"
In this map we define several constants we need for our cluster to run. For the sake of simplicity I use a Configmap here, if you were to run this in a production environment you would use secrets, but that is a subject for a different article. Now type:
cd Kubernetes
kubectl apply -f db-configmap.yaml
You can check if the deployment was correct by typing:
kubectl get cmThere you should see the db-secrets-net configmap with 5 secrets.
Deploying storage
In order for our database to work correctly we need some storage. In Kubernetes this done through the use of so-called persistent storage. So let’s define that. Add a new file called ‘db-persistent-volume.yaml’ in your ‘Kubernetes’ folder:
apiVersion: v1
kind: PersistentVolume
metadata:
  name: postgresdb-pv
  labels:
    type: local
    app: postgresdb
spec:
  storageClassName: manual
  capacity:
    storage: 8Gi
  accessModes:
    - ReadWriteMany
  hostPath:
    path: "/data/db"
Here we define an 8 Gigabyte storage, with a hostpath storageprovider. If you deploy to Azure or AWS, you will need to change that. Furthermore, not the extensive use of labels, which we will need later.
Now in the terminal, which should still be open, type:
kubectl apply -f db-persistent-volume.yaml
With
kubectl get pvyou can check if the deployment was successfull
A persistent volume can be accessed from a pod through a thing called a persisten volume claim. In your Kubernetes directory add a file called db-volume-claim.yaml:
apiVersion: v1
kind: PersistentVolumeClaim
metadata:
  name: db-persistent-pvc
spec:
  storageClassName: manual
  accessModes:
    - ReadWriteMany
  resources:
    requests:
      storage: 8Gi
This claim requests a storage capacity of at least 8 Gigs.
Again, apply this claim to your cluster:
kubectl apply -f db-volume-claim.yamlDeploying the database
Without a database, this API could not function so add a db-deployment.yaml file to your Kubernetes directory:
apiVersion: apps/v1
kind: Deployment
metadata:
  name: postgresdb
spec:
  replicas: 3
  selector:
    matchLabels:
      app: postgresdb
  template:
    metadata:
      labels:
        app: postgresdb
    spec:
      containers:

        - name: postgresdb
          image: postgres
          ports:
            - containerPort: 5432
          envFrom:
            - configMapRef:
                name: db-secrets-net
          volumeMounts:
            - mountPath: /var/lib/postgres/data
              name: db-data
      volumes:
        - name: db-data
          persistentVolumeClaim:
            claimName: db-persistent-pvc
Quite a lot to unpack here:
- The deployment is called postgredb
- The image is also called postgresdb
- The necessary environment variables are derived from the configmap we just deployed
- The mountPath in the volumeMounts is the internal path in the pod to which this volumeClaim will refer
- Furthermore, the standard Postgres port of 5432 is exposed.
Now type:
kubectl apply -f db-deployment.yamlCheck if the pods are running by using
kubectl get pods
Make sure all three pods are in a running state. This can take some time.
The database service
For us to communicate with the database pods, we need to build a service. In your Kubernetes directory add a file db-service.yaml file:
apiVersion: v1
kind: Service
metadata:
  name: postgresdb
  labels:
    app: postgresdb
spec:
  ports:
    - port: 5432
  selector:
    app: postgresdb
All this does is expose port 5432 for all the pods with label ‘app:postgresdb’
You can apply this by running:
kubectl apply -f db-service.yamlYou can check this deployment with:
kubectl get svcDeploying the web API to Kubernetes
We need to add yet another yaml file to the Kubernetes directory: web-deployment. This should look like this:
apiVersion: apps/v1
kind: Deployment
metadata:
  name: web-deployment
spec:
  replicas: 3
  selector:
    matchLabels:
      app: web
  template:
    metadata:
      labels:
        app: web
    spec:
      containers:
        - name: web
          image: iedesnoek/webeventsnet:v1
          imagePullPolicy: IfNotPresent
          envFrom:
            - configMapRef:
                name: db-secrets-net
Again, nothing special: we pull the image we just pushed, and get the environment from the configMap we defined earlier.
Apply this with:
kubectl apply -f web-deployment.yaml
To check whether the deployment was ok type:
kubectl get deploymentsFinally: the web-service
And now, we add the final file to the project: web-service.yaml. This is needed to access the webservice pods from the outside, that is why the type is LoadBalancer:
apiVersion: v1
kind: Service
metadata:
  name: web-service
spec:
  selector:
    app: web
  ports:
    - protocol: TCP
      port: 80
      targetPort: 80
  type: LoadBalancer
Also notice that this service refers to the web-deployment through its selector ‘app:web’. The port that is open on the Web API is port 80, which happens to be the same port we open to the internet.
Apply this with:
kubectl apply -f web-service.yaml
To check whether this service has been deployed correctly:
kubectl get svcFinished!
Now it is time to check whether it works, if you are working on minikube type:
minikube service web-service
This will open a browser, add /swagger/index.html to the URL to get the swagger page.
For other local or non-local clusters: find out the IP address and the port. Go to http://<ip adress>:<port>/swagger/index.html
Now you can play with the API
Conclusion
This was quite a long article, but a lot has been done. It turns out that deploying this simple setup on Kubernetes was not very difficult. Mind you: things like security or real scalability were not taken into account. These are things for another article. Enjoy!