Azure Container Apps: going through the Gateway
Introduction
On hackingwithgo.nl and hackingwithrust.net I wrote some articles on how to deploy Rust and Go web-application to Azure Container Apps. This works all very well, however, sometimes more security is needed. Azure provides this in the form of an Application Gateway, which is a combination of a firewall and a load balancer.
However, I found that connecting a container app to an application gateway is not quite straightforward, and the Microsoft tutorials are spread over two articles.
That is why I decided to write a complete tutorial. In this tutorial we will deploy a simple web-app written in Go to an Azure Container App, and secure it by placing it behind an Application Gateway.
Beware: this is not a short tutorial
Prerequisites
A couple of things are needed in order to follow this tutorial:
- The Docker Desktop or the equivalent must be installed on your machine.
- A Dockerhub account so you can push and pull your Go docker-image
- An Azure subscription. This could also be a free subscription.
- If you want to run the web-app locally, you need to have Go installed.
- And if you want to edit the code, a code editor like Visual Studio Code is highly recommended.
Preparing the Docker container.
Getting the code
Open your command line or terminal in an empty directory and type:
git clone https://github.com/snoekiede/gotutrepos.git
cd gotutrepos
Running it locally (optional)
If you want to run the web app locally, type:
go run .
You will see some logs appearing after a while. Try opening a browser and typing http://localhost:8080/api/ping and you should see a message appear in your browser screen. As mentioned before, this is a very simple web app.
Preparing and pushing the Docker image
Now it is time to build the docker image. Make sure you have a Docker daemon running and type in your terminal:
docker build -t <your dockerhub username>/gotut:v2 .
Since I provided a Dockerfile in the solution, this should build, and it might take several minutes depending on your internet speed.
Once the image has finished building, you can push it to your repository, by first logging into docker:
docker login
And the pushing your image:
docker push <your dockerhub username>/gotut:v2Also, depending on your internet speed, this might take several minutes.
Preparing your resource group
Every resource in Azure belongs to a resource group, so let’s login in to Azure, click on the Resource groups tab:

And add a resource group:

Name it my-go container:


Click ‘Create’, the resource group will be created. Click on ‘Go to resourcegroup’ and you will be presented with this screen:

Now click on ‘+ Create A Resource’ in the left menu:
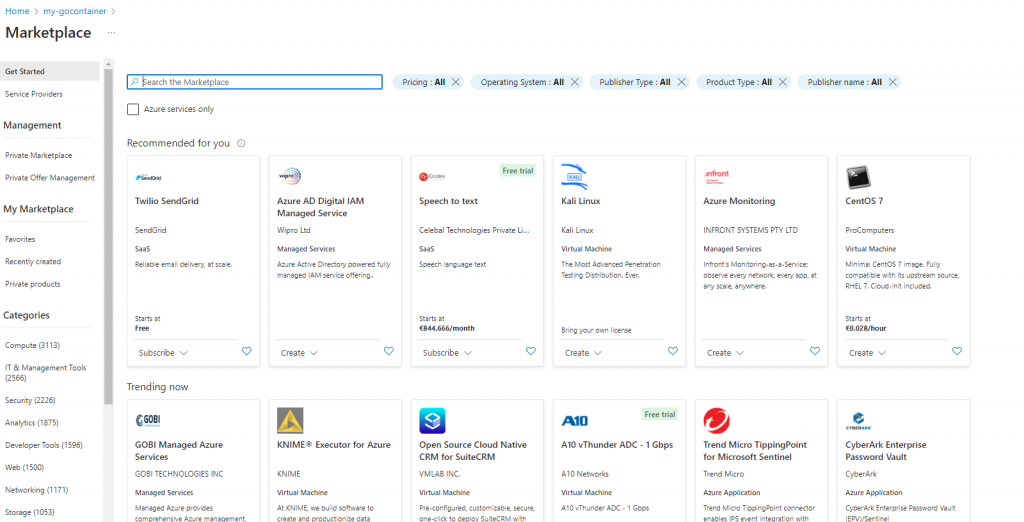
Now search for ‘Azure Container App’:

Click ‘Create’:

Click on ‘Create’:

Fill in the following:
- Resource group: the name of the group you have just created. If you have followed along that would be ‘my-gocontainer’
- The container name: ‘gocontaineragw’
- As the region I chose ‘West Europe’, which is closest to where I live, you may want to chose a different region.
In the Container App Environment box, click op ‘Create New’:

Fill in the following:
- The name I filled in is ‘mygocontainerenv’
- I leave the plan to ‘Consumption’ which is sufficient for this small project.
- Leave the ‘Zone redudancy’ on ‘Disabled’, as we do not need it here.
Now click on the ‘Monitoring’ tab:

And replace the name with ‘gocontainer-logs’:

Now click on the ‘Networking’ tab:

And change it to this:

Click ‘Create new’ on ‘Virtual Network’:

And fill it in, name it ‘my-go-vnet’ and leave the default as is. Click ‘OK’ and return to this page:

On ‘Subnet’ click ‘Create Subnet’ and fill it in as follows, the click ‘OK’:

Since we want to connect the Azure Container App, we chose an internal virtual IP:

Now click ‘OK’ and we will return to the ‘Create Container App’ page. If you are not already there, click on the ‘Container’ tab:

Do the following:
- Uncheck the ‘Use quickstart image’ box, since we will be using our own image
- Click the ‘Docker Hub or other registries’ button.
- The Image type is public
- If Azure does not fill this in correctly, the Registry login server will be docker.io
It should look like this:

In the image and tag fill in ‘<your dockerhub username>/gotut:v2’.
Now click ‘Ingress’:

Because we want to have a web app, Ingress should be enabled:

Check the following:
- We want to limit access to the Container app to its own VNET.
- The Protocol is HTTP, transport is Auto.
- Since the container does not implement HTTPS, insecure connection should be allowed.
- The target port which the container exposes is 8080.
- Leave the session affinity checkbox unchecked.
Now click ‘Tags’ and ‘Review+create’:

After passing validation:

Now click ‘Create’:
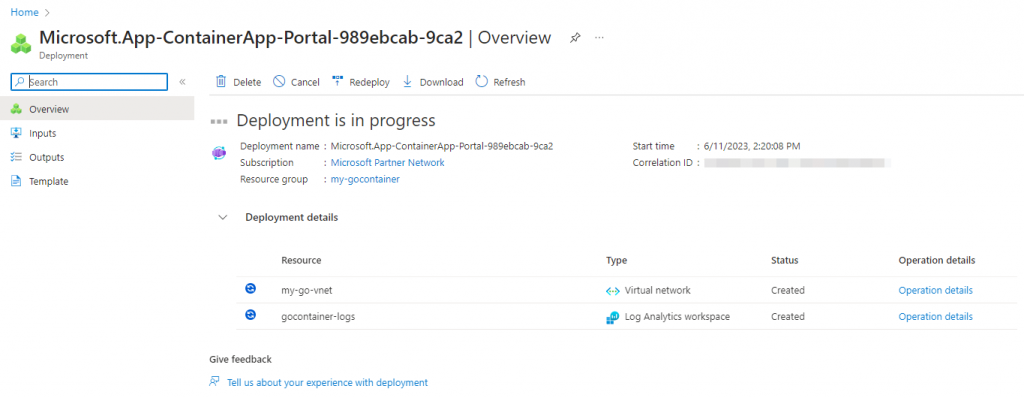
This can take a while, so please be patient, when it is finished, go to the newly created containerenvironment and click op ‘JSON View’ in the upper right corner:


Now find the ‘defaultDomain’ and ‘staticIp’ and make sure you store them somewhere, as you will need them later:

Now open the ‘Create a resource’ page again:
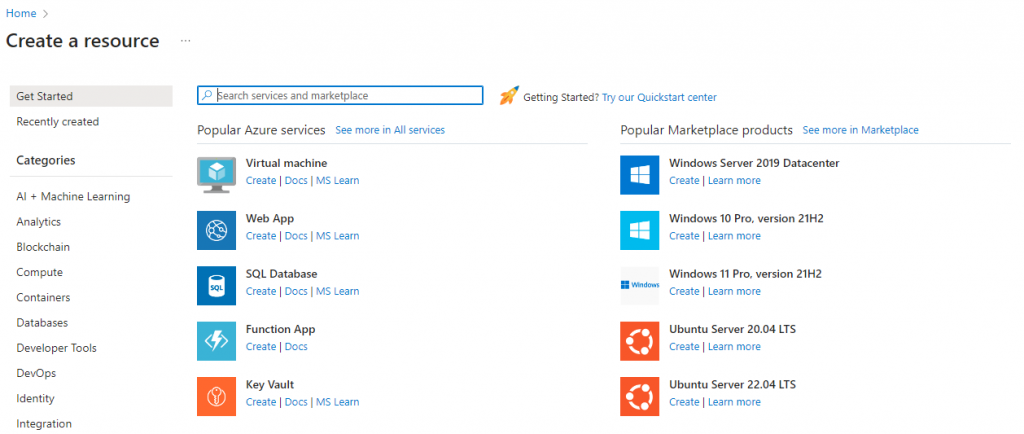
Search for ‘Private DNS Zone’ and click ‘Create’:


Now fill this in:

You need the following things:
- The resourcegroup is quite self-explanatory.
- In the Name of the Private DNS zone you fill in the DefaultDomain you have stored from the containerenvironment.
Now click ‘Review create’:

Click ‘Create’:
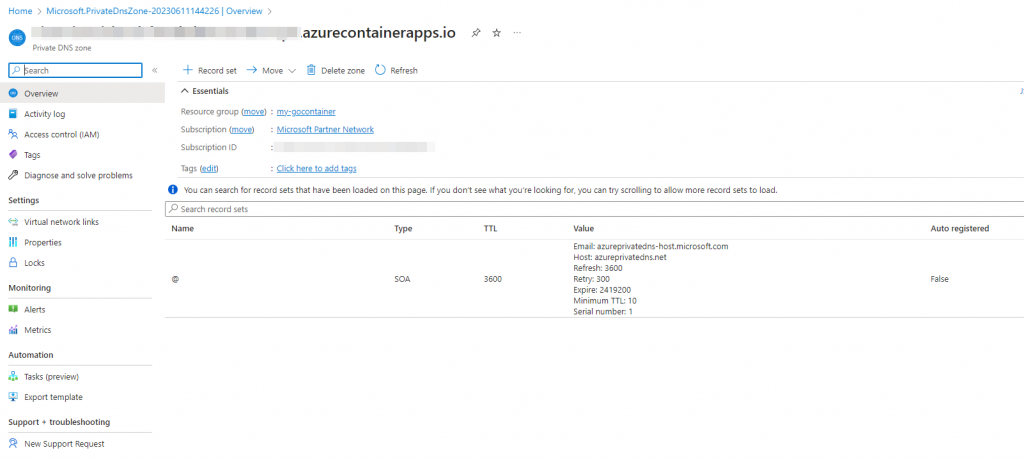
Click ‘Add record set’:

And fill in the following:

You need to fill in the following:
- Name: *
- Leave the rest of the defaults as they are.
- Make sure the type is ‘A – Address record’
- As the the IP address fill in the static IP address from the container environment you stored earlier.
Do this again, with the same values, but now instead of ‘*’ enter ‘@’ for the name.
Now click on the ‘Virtual Network Links’:

Bla

And fill this in as follows:

Click op ‘OK’
And you can see the virtual network link is created:

Now go back to the ‘Create a resource’ page:
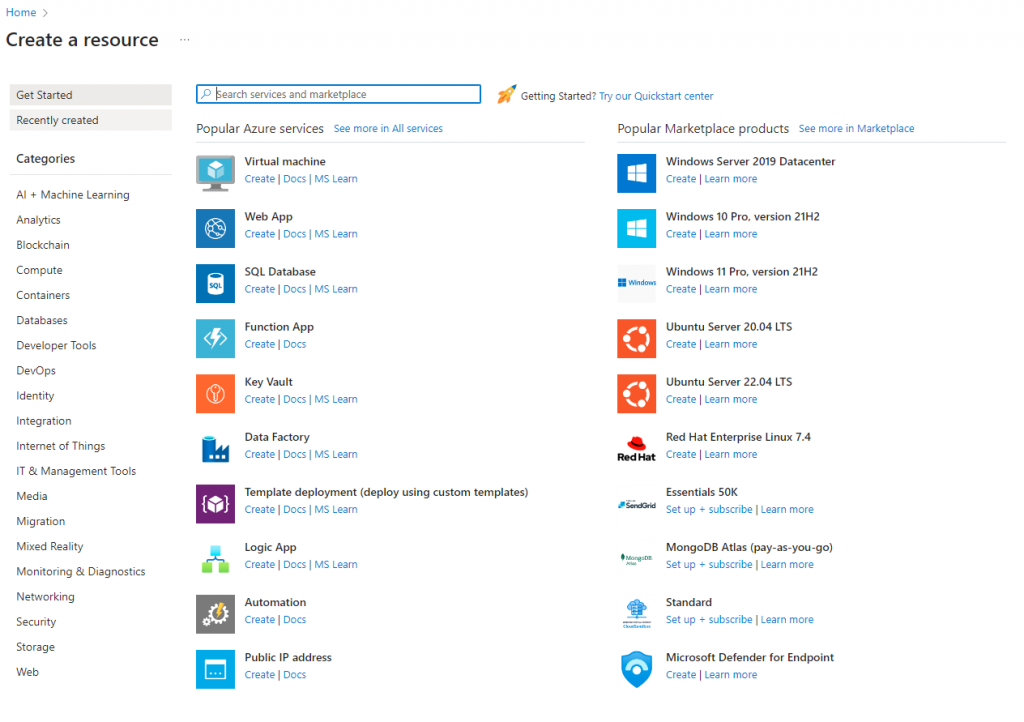
And choose ‘Application gateway’:
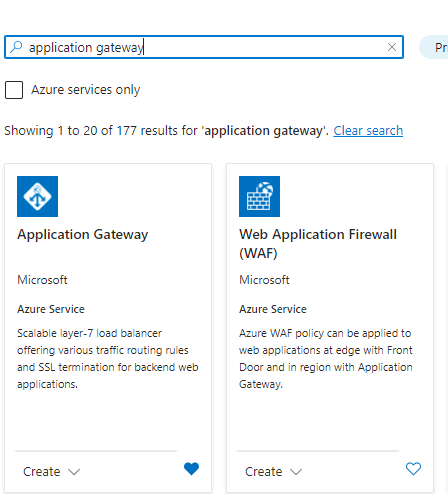
Click on ‘Create’. Now fill it as follows:
- Choose the resourcegroup where your containerenvironment is.
- The name is ‘my-go-apps-agw’
- The Tier is ‘WAF V2’. ‘WAF’ stands for ‘Web Application Firewall’.

On the ‘WAF policy’ choose ‘Create new’:
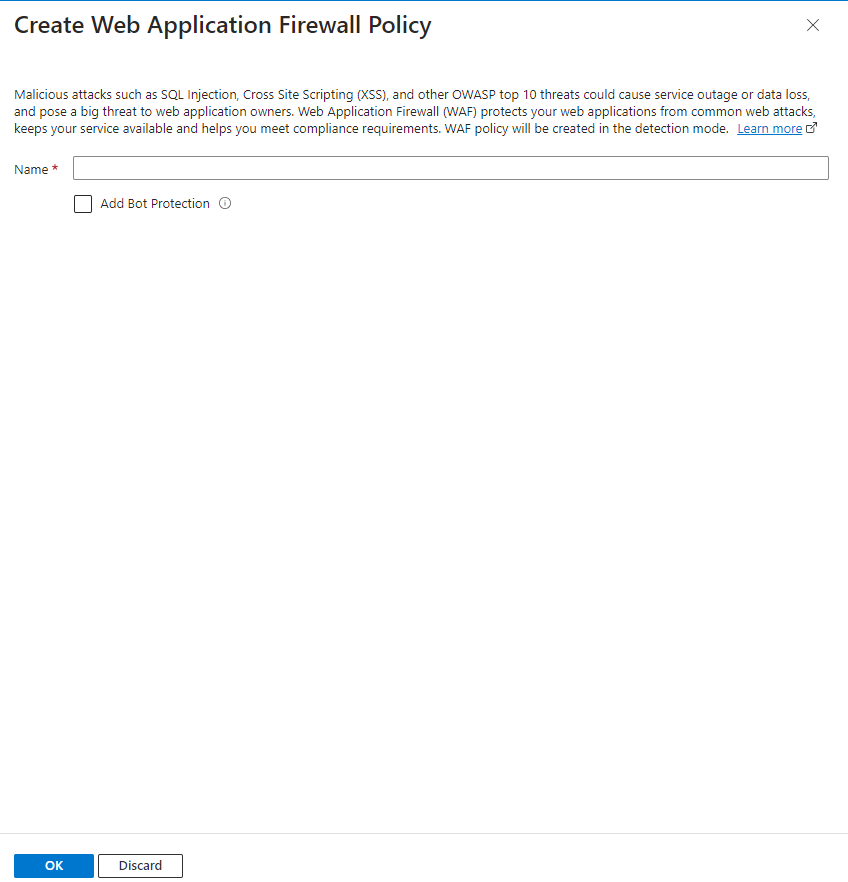
Choose for the name ‘my-waf-policy’ and click ‘OK’.
Now you come back to the original page, look at the Network configuration at the bottom of the page:

Click on ‘Manage subnet configuration’:

Click on ‘+Subnet’:

Give the subnet a name, and click ‘Save’:

You now should see this screen:

Now go back to the ‘Create gateway’ screen, and choose the newly created subnet as the subnet:

Now click the ‘Frontends’ button, and you will see this screen:

Click ‘Add new’ to create a new IP address:

Name it ‘GoFrontEndIP’ and click ‘OK’. Now click on ‘Backend’

Before we go on, it is necessary you open a new tab in your browser, open the azure portal in that, and go to your container app, copy the Application URL which is shown on the Overview page:

Bla

Fill in the following:
- The name is go-backend-pool
- Choose IP address of FQDN (Full Qualified Domain Name) and paste the URL of the container app, and remove the https:// at the beginning of the URL
Now click ‘OK’ and in the ‘Gateway Creation Screen’ click on ‘Configuration’:

Now click on ‘Add a routing rule’:

And fill it in as follows:

Fill in the following values:
- The name is my-go-agw-routing-rule
- The priority is 1.
- The Listener name is my-agw-go-listener
- The Frontend IP is Public and we will use the HTTP protocol on port 80
- Listener type is ‘Basic’ and we have no Error page url.
Now click on the Backend targets tab:

And fill it in:

Choose the backend pool you already made. Now click on ‘Add new’ for the Backed Settings:

You need to set the following:
- Name is ‘my-go-agw-backend-settings’
- Choose ‘HTTPS’ as the protocol, and 443 as the port number
- Choose ‘Yes’ for ‘Override with new host name’
- Choose ‘Pick host name from backend target’
- Set ‘Custom Probes’ to ‘No’
Now click ‘Add’, then ‘Review + Create’ on the ‘Create gateway page’ and the gateway will be deployed. Mind you, this can also take some time:
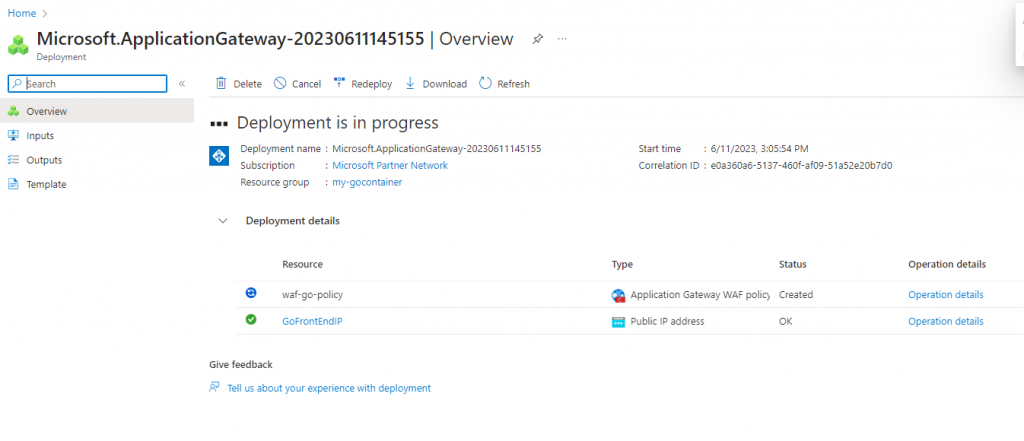
The deployment is finished:
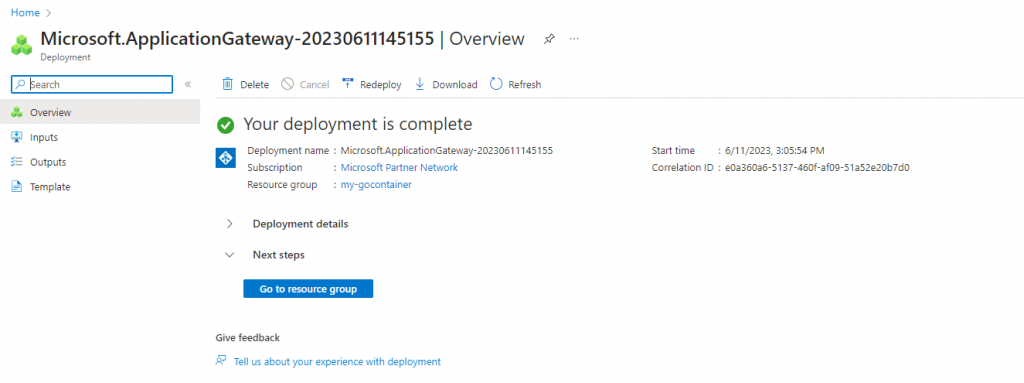
Go to the resource group, and click on the new gateway resource:
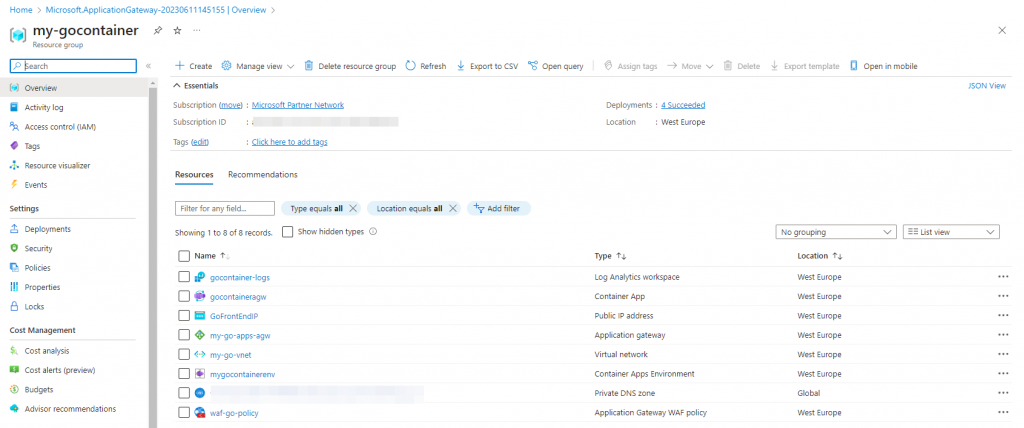
Bla
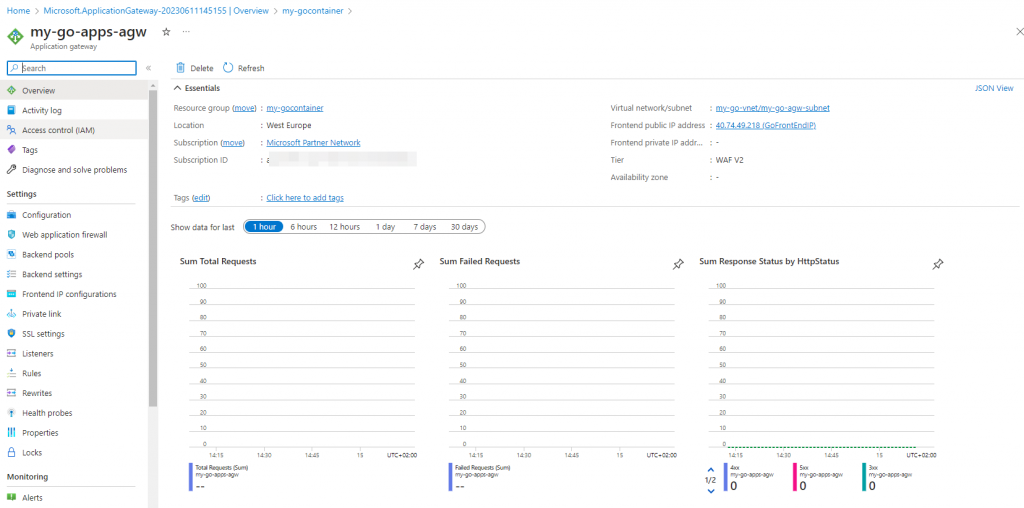
We need to add a private link:

Click on ‘+ Add’

And fill it in as follows. To add a private IP address just click on ‘Add’

Now click on ‘Add’ at the bottom of the page:

We will now add health probes. Health probes are important for the correct functioning or the functioning at all of the gateway.
Now click on ‘Health Probes’ in the left menu:

Click ‘+ Add’:
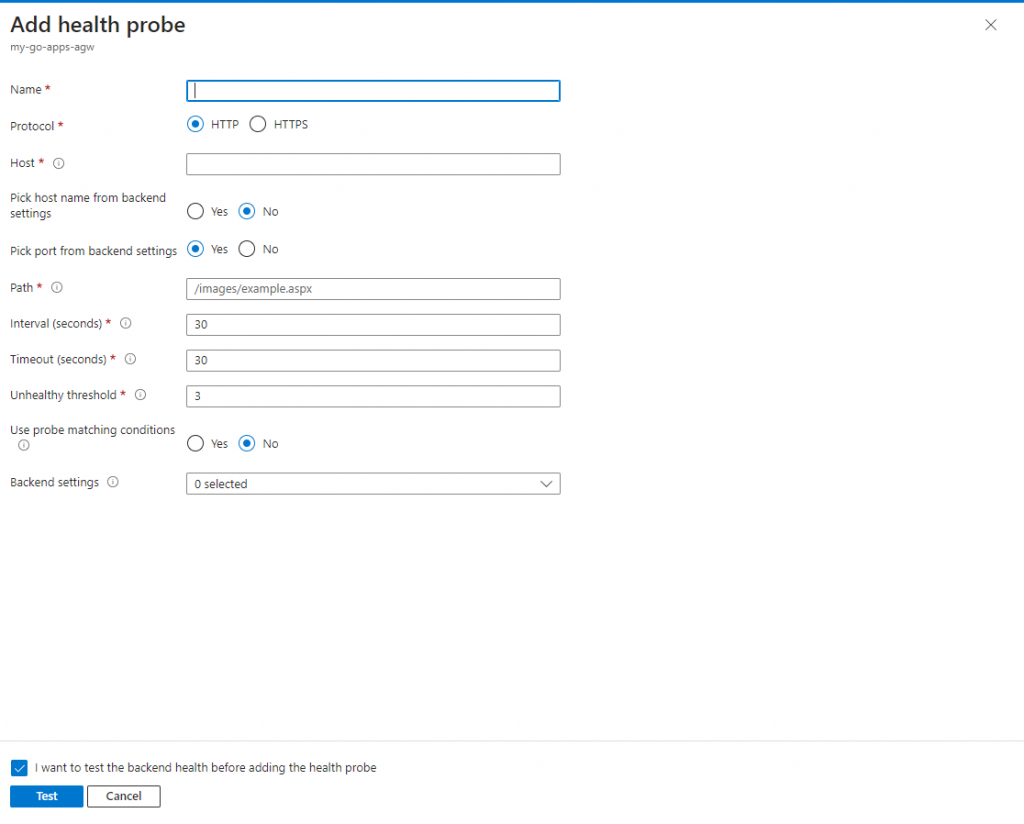
And fill it in as follows:

- Name the probe ‘my-app-health-probe’
- The protocol is HTTPS
- Set ‘Pick hostname from backend settings’ to yes
- Set ‘Pick port from backend settings’ to yes
- If you have used and pushed the go web app I provided at the start the path to test is ‘/api/ping’
- Choose ‘my-go-agw-backendsettings’ as the ‘Backend settings’
Click ‘Test’:

After a while you should see a green checkmark, notifying us that the backend is healthy.
Now copy the Frontend public IP address from the gateway overview page:

Paste the following URL in your browser: http://<public ip>/api/ping and you should see something like this:

Conclusion
It is not really straightforward to get an application gateway to talk to an azure container app, but as you can see it is feasible. Mind you, I have chosen a very simple case, without for instance custom domains, but that is something for the next blog article I think
